

In the beginning, excavation is always the first step.
Sometimes it can be a little tricky here in the
Texas Hill Country due to indigenousness rock formations.

Road base is brought in to build the beams and level out
the substructure for the garage floor

In the process of what’s called “bagging” both the perimeter
and interior beams are built up one level at a time.

With the beams being built, as you can see it creates a grid pattern.
With the vapor barrier in place it is now ready for rebar.

You can see the rebar both down in the beam trench
and a grid pattern for the slab.

With use of forms and kickers, everything is held into place.
it is now ready for some mud.

Now comes the fun part. Concrete day is always a good day.
Someone said that mud gets really hard after a while.

The guy handling the shoot is always the guy with a few years under his belt.
Or is that a few years of Whataburger under the belt?
A construction guy once said his belly was the only possession
he had that was completely paid for.

That is what we like to see, flat & smooth. Being a garage
we also like to see the slab lower in the front than in the back;
just in case a little water gets in.
So, in this case, flat, smooth and sloped is
really what we like to see.

See how the bagging process builds up the low areas to make the
garage surface level; well, with a slope of course.

Now we get to climb out of the dirt and mud to start framing.
Concrete is fun and all, but not as much fun as framing
")
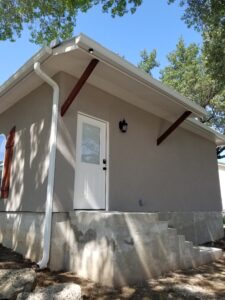
After framing comes a synthetic vapor barrier.

Due to the subdivision POA a masonry requirement is mandatory.
Stucco is a common choice. The first coat coat is called the scratch coat.

The second and final layer is the color coat. Actually stucco isn’t
really stucco any more, although that is still what we still call it.
A stucco like product with polymers in it to prevent
cracking is now called Dryvit.

Stone is added for some accent which really adds
a beautiful accent. Our mason and his guys are really quite talented.

Gutters and downspouts was also a part of the package.

It’s amazing what shutters and some simple corbels can do to add a nice touch.
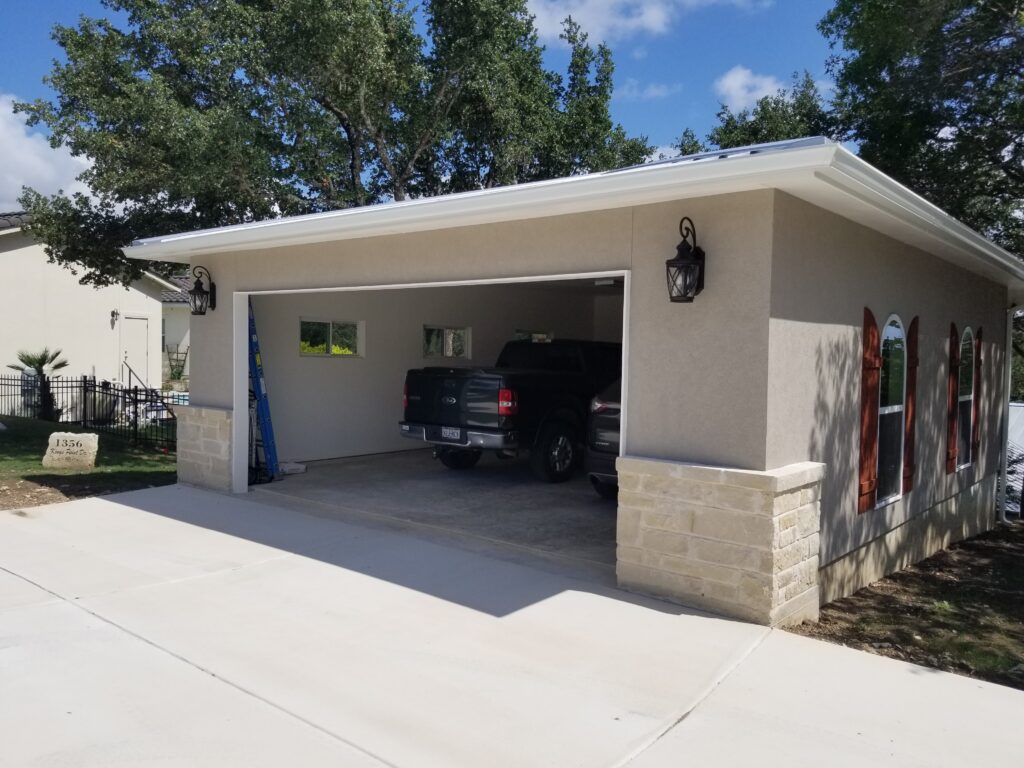
So there you have it, a really nice piece of work.
An interesting detail to this project is that there exists a height restriction of no more than 15 feet from a point at the right
front corner of the building to the highest point of the roof. All the way up, concrete, wall & roof framing and finally the galvalume standing seam
roofing had to be just so in order to achieve the desired height.